Analytics Guide
The Analytics Tracking Tab
In the Analytics Tracking tab under Settings, you will find the collection of all analytics pixels you have setup. Each table contains pixels of a specific type, for example "Google Universal Analytics" (Google UA) or "Meta Pixel".
Adding an Analytics Pixel
1. To add an analytics pixel, click on the Add button located at the top-right side of the table. For example, if you would like to add a GA4 pixel click on the "+ Add Google A4" button.
![]()
2. A form should appear allowing you to fill out the required values of your new analytics pixel. Once filled out, click the "Add Analytics Pixel" button.
*You cannot create an analytics pixel without an Analytics ID
![]()
3. Once the new analytics pixel has been added, you will see the new pixel in the table.
Updating an Analytics Pixel
1. To update an analytics pixel, click on the Edit button located on the right side of an analytics row.
![]()
2. A similar form should appear allowing you to change the values of your existing analytics pixel. Once you have made your changes, click the "Update Analytics Pixel" button.
3. Once updated, you will see your new pixel values updated in the table.
Deleting an Analytics Pixel
1. To delete an analytics pixel, click on the Delete button located next to the Edit button.
![]()
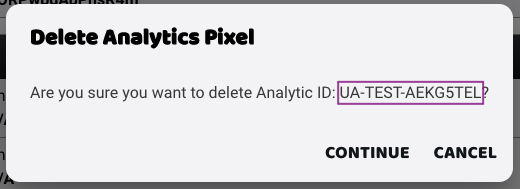
2. A dialog will appear asking you to confirm your removal of the specified analytics pixel. The Analytics ID outlined in the dialog will be the pixel that is removed.
3. Once deleted, the analytics pixel will be removed from the table.